How to stop draughts around doors
Do you have draughts around your front door? Learn some tips and tricks to keep the cold air out.

Here in the UK, where cold snaps are common, draughts can be an annoyingly persistent problem. You're doing your best to keep your house warm, when – woosh! – a breeze comes along and sends a shiver up your spine.
And it's not just uncomfortable. Those pesky draughts can make your heating work less efficiently, which in turn can lead to ballooning bills.
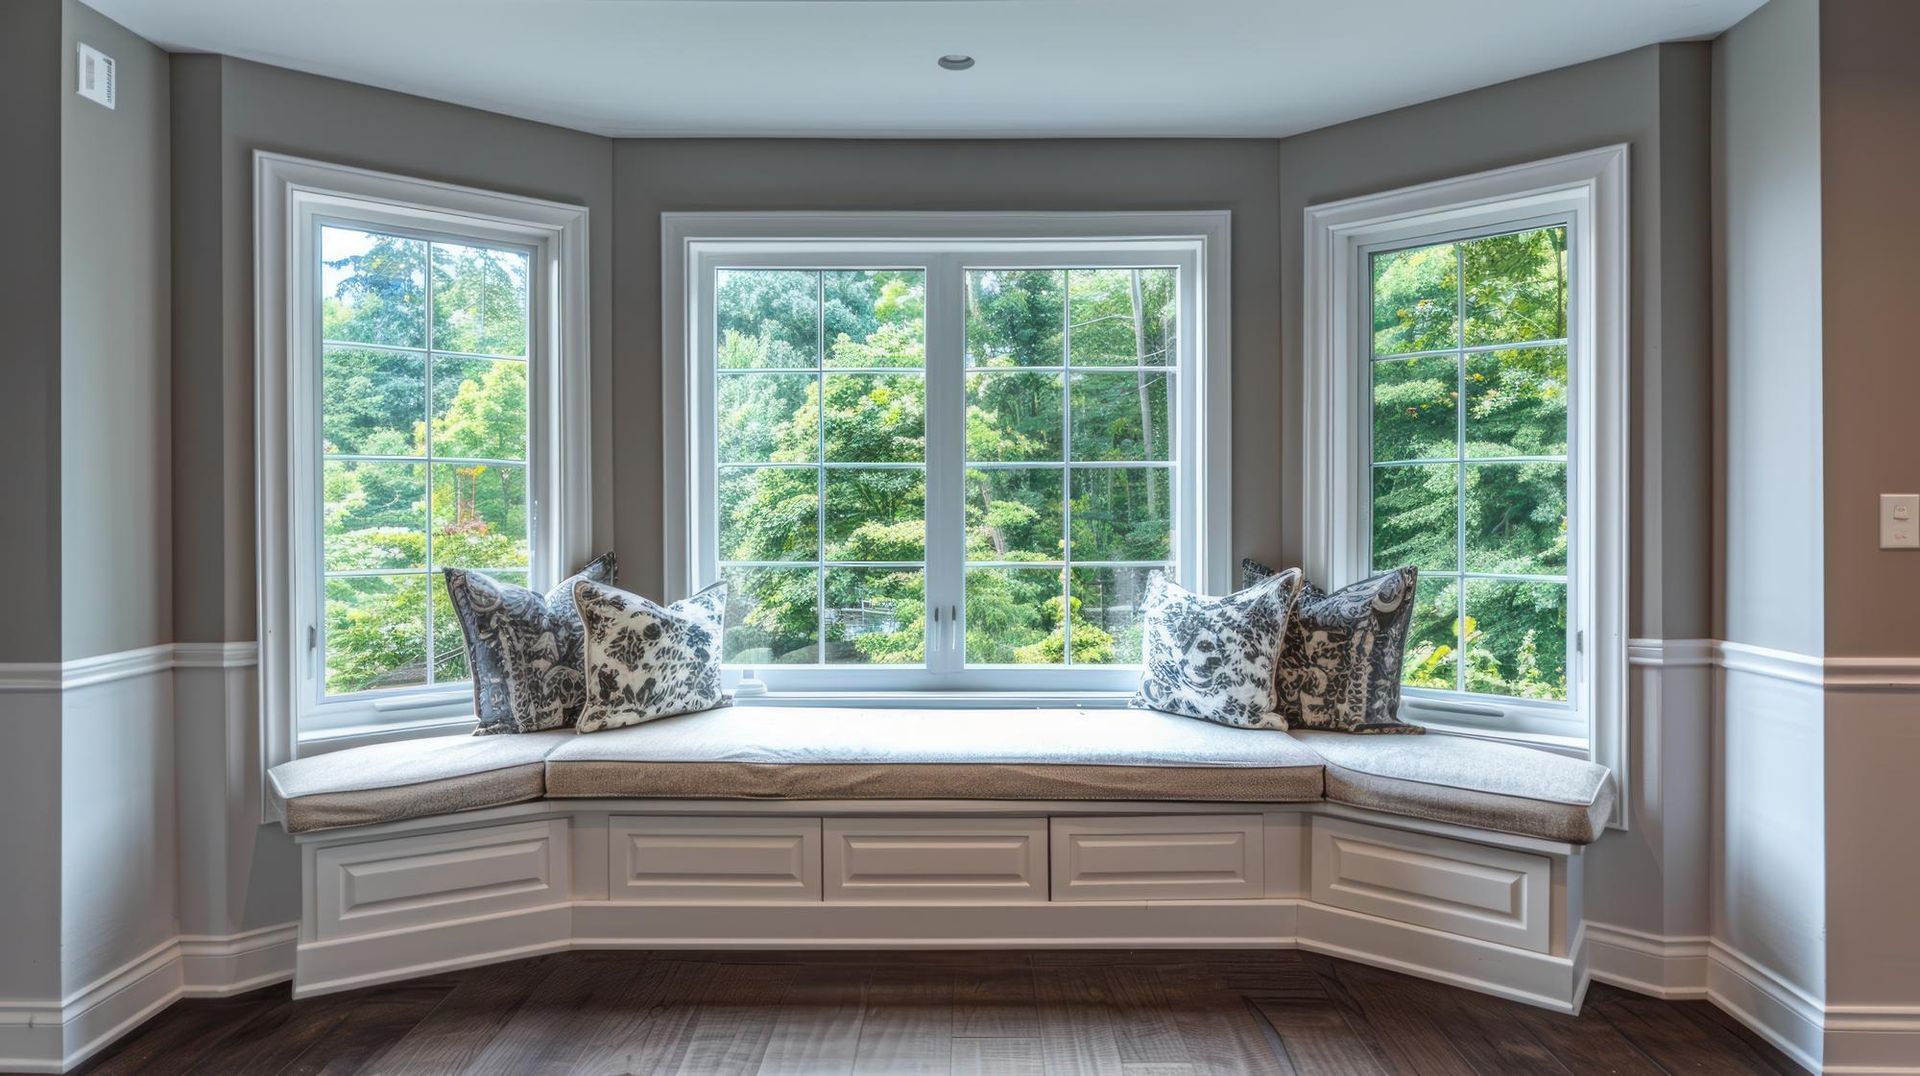
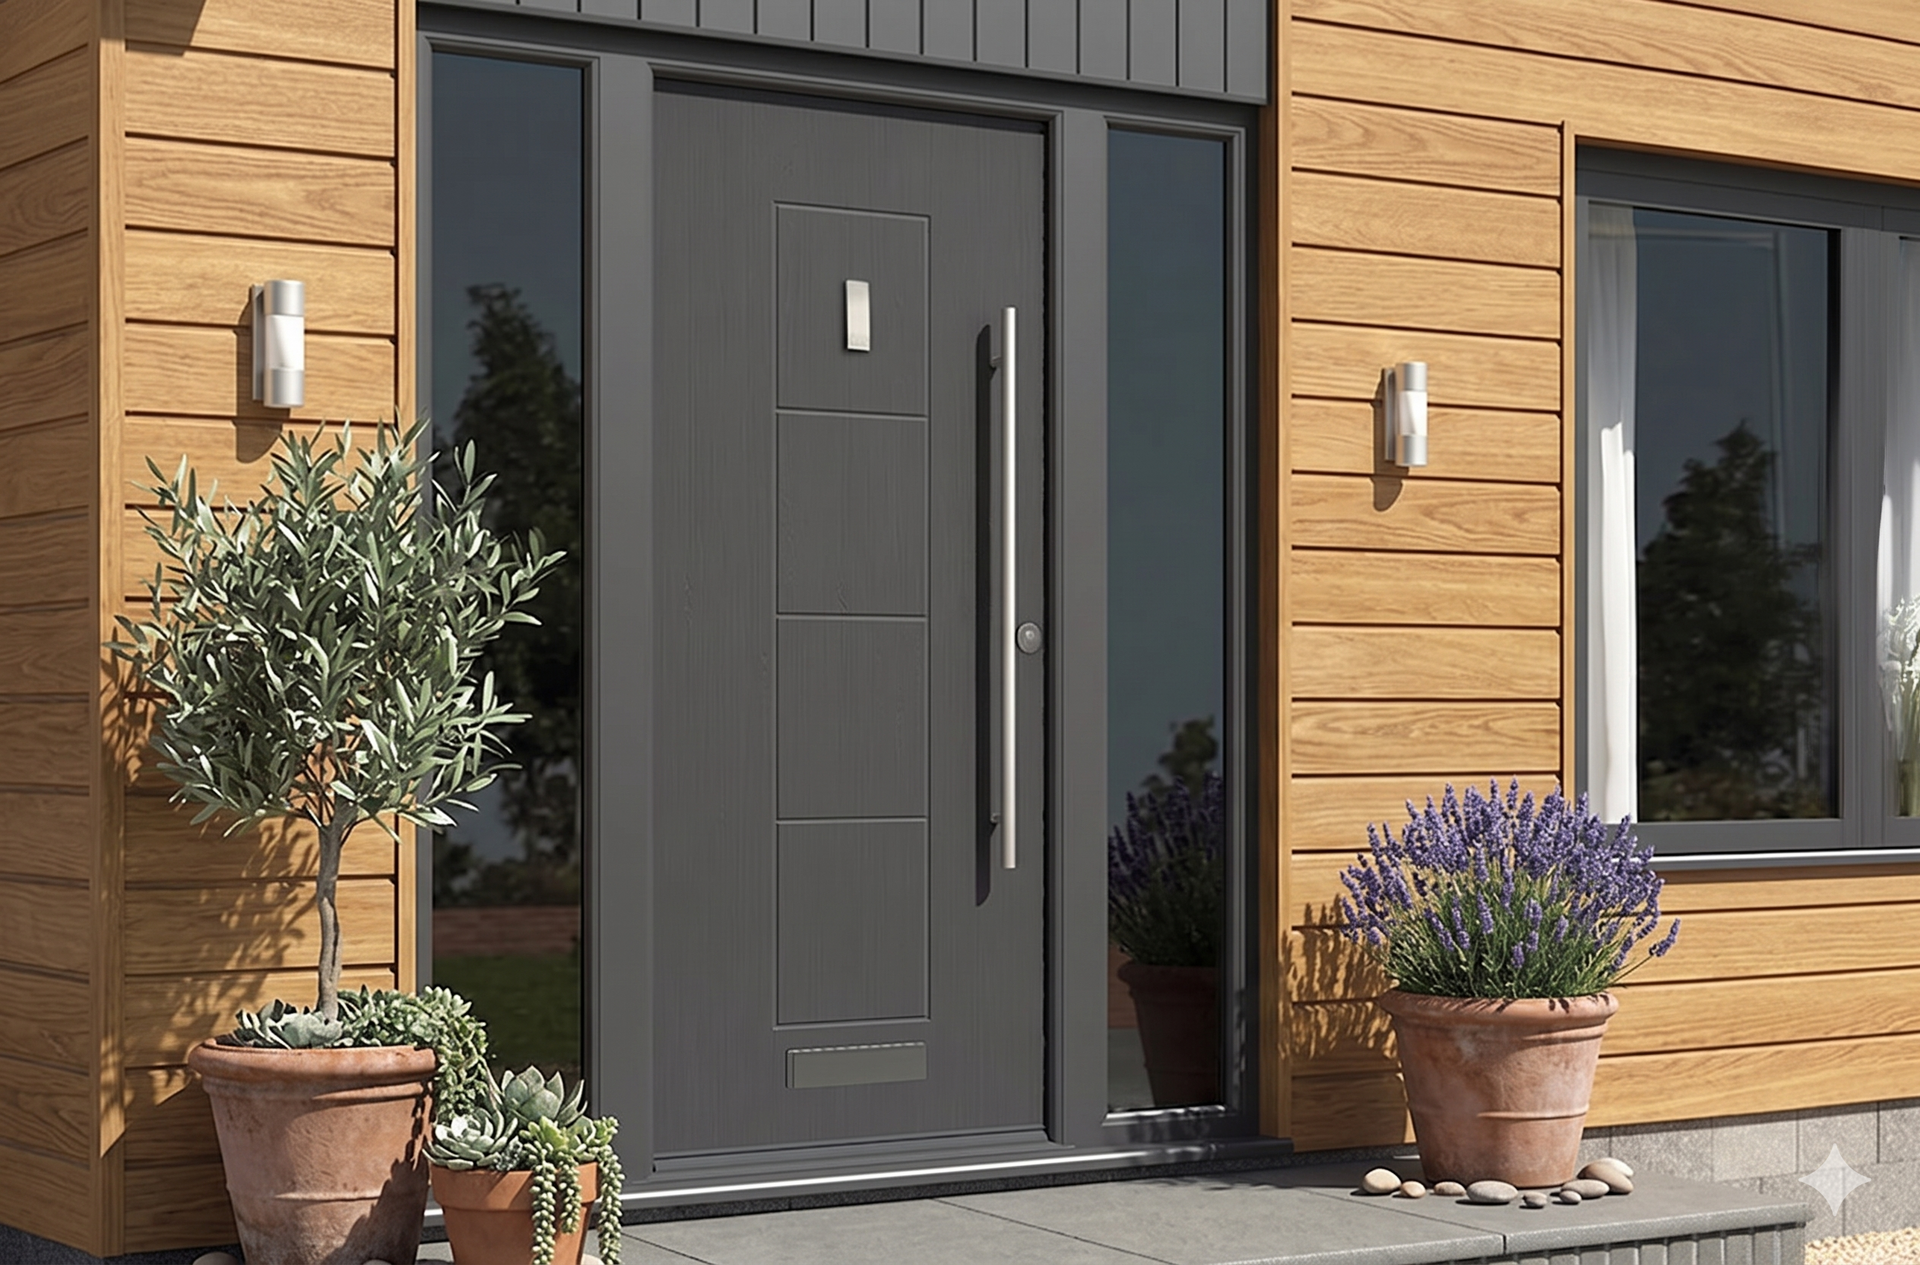
Often, you can point the finger of blame at your front door. If it's worn, damaged or improperly installed, it might be letting in more cold air than it should.
The good news is that draughty doors can often be fixed cheaply and effectively.
In this article, we cover some easy methods that require little to no installation, as well as slightly more involved ones. This way, you'll have a range of solutions to try depending on your particular needs and budget.
First steps
Examine the door
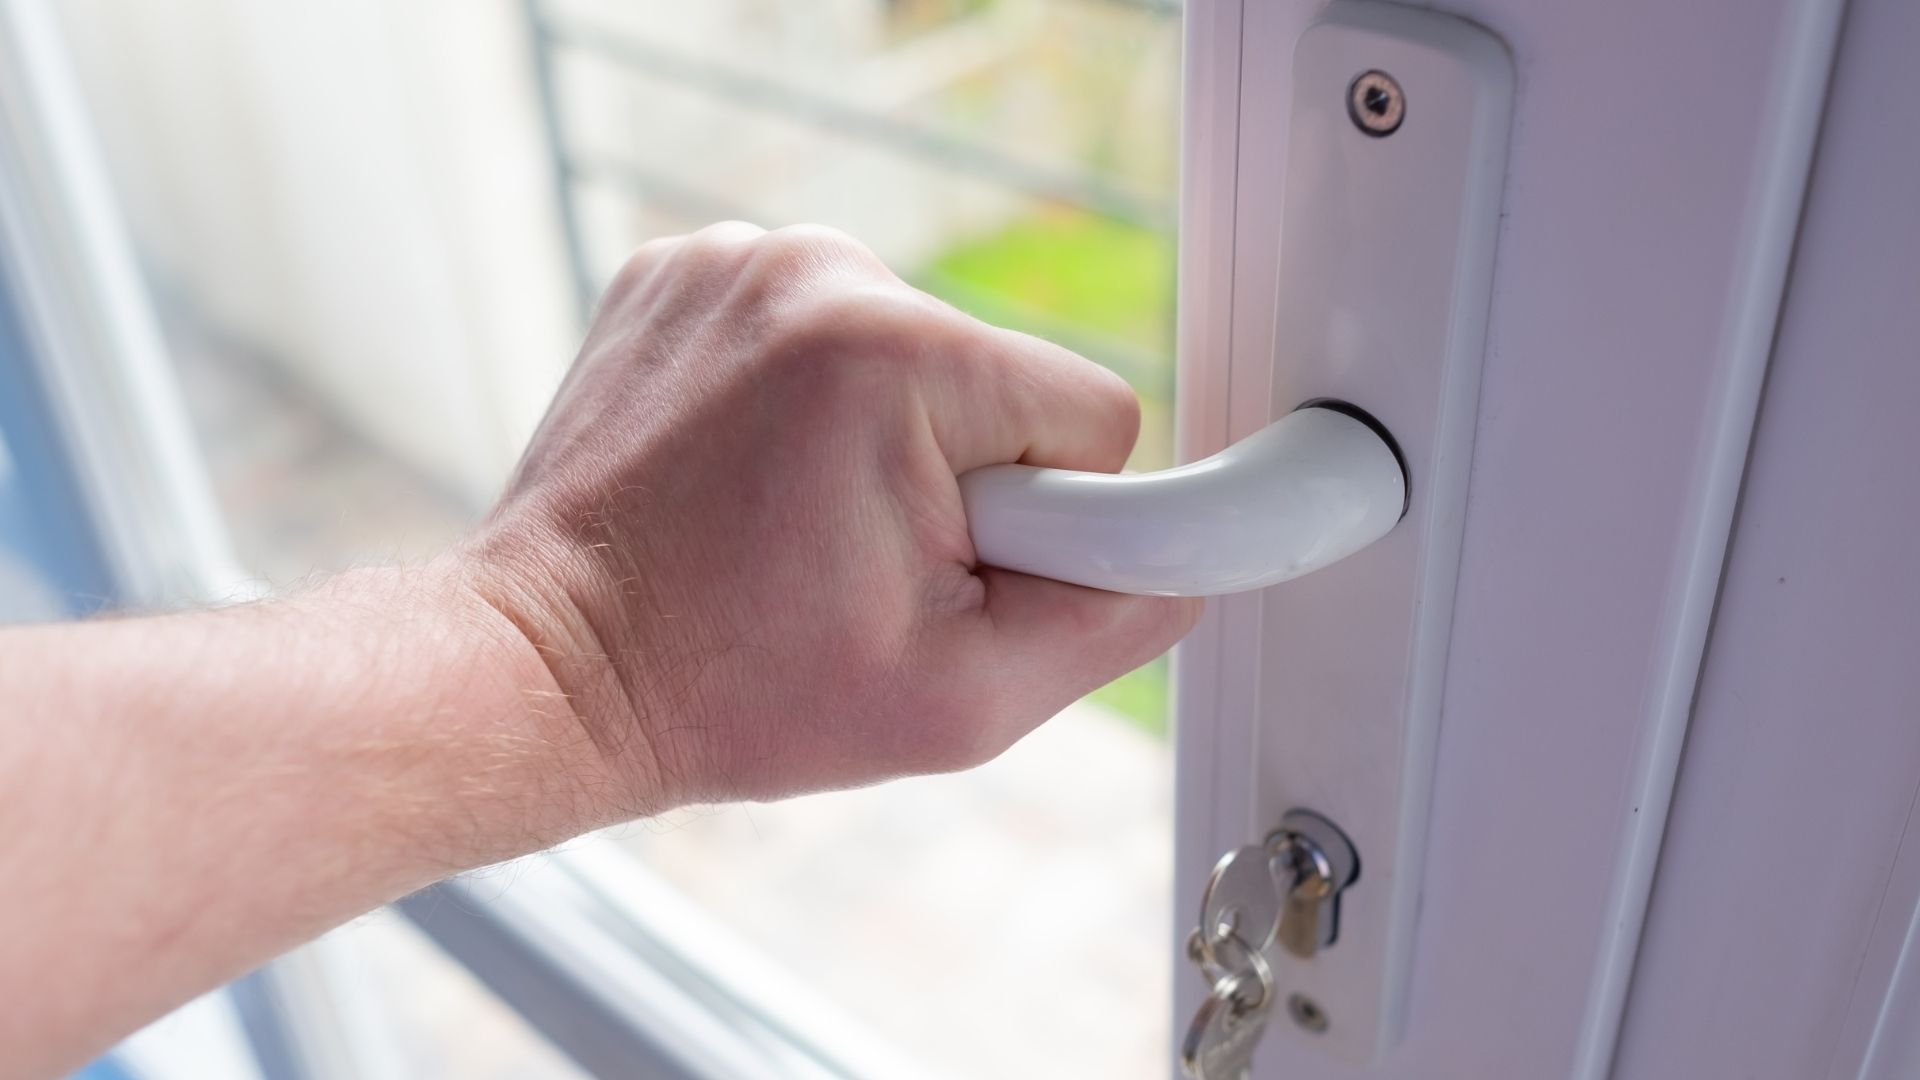
Start by closely examining your door. You're looking for gaps between the door and the frame, as well as cracks and gaps in the frame and surrounding masonry.
While you're at it, grab a tape measure and write down the dimensions of your door. These might come in handy later.
As the tiniest gaps can be tough to spot, you can use (with caution) a lighter as a handy draught-finder. Move the flame over your door and around the door frame. Watch out for the flame flickering, as that will indicate a draught.
Don't forget the keyhole and letterbox
Now, this one might sound obvious, but it's often overlooked.
When looking for areas to seal, it's easy to focus entirely on unintentional gaps. But remember: cold air doesn't discriminate.
So, make sure your keyhole cover (escutcheon) and letterbox flap are well-fitted – or install them if your door lacks them. If you do have a letterbox flap, make sure it's still well-insulated.
An escutcheon can be fitted over the keyhole with just a few screws. Easy!
Quick fixes
Cushion draught excluders
Let's start with the simplest option, requiring no installation.
Cushion draught excluders come in many designs and colours, but the basic idea is pretty straightforward. They're basically long, thin pillows stuffed with a soft material. Place one right at the bottom of your door, and it will cover the gap and help stop cold air from entering.
They're also quite cheap. So, whether you go for a cute dog or a simple cushion, you can tackle the worst draughts at the bottom of your door with little cost and hassle.
And you don't have to stop at the front door. Pop a few extra in your shopping basket, and you can cold-proof multiple doors in your house in no time. Just make sure they're the right size for the width of your doors.
Job done, right? Well, the obvious disadvantage to cushion draft excluders is that they only cover the bottom of the door. You'll need to consider another option if the cold air is entering from elsewhere.
Plus, as they're not fixed to the door, you have to remember to push them into the right position every time you enter or leave.
All said, however, it's a quick and easy solution that could prove very helpful while you set up a more permanent one.
Brush draught excluders
Brush draught excluders are the next step for those seeking a more permanent solution.
Like their cushioned siblings, these tackle the worst gaps under your door. Unlike cushion draught excluders, however, they attach to the door using screws or self-adhesive strips. That means that, once properly installed, they keep doing their job with no need for you to continuously readjust them.
When buying one, try to find one already cut to size to match your door. The alternative is to use a hacksaw and sandpaper to adjust and smooth it to be the right fit.
To install the brush excluder, line it up straight and centred at the bottom of your door. You want it to cover the gap and sit snug against the floor. Don't go too low, as that could make it hard to open and close your door and put too much pressure on the excluder.
Finally, even if your excluder comes with a self-adhesive strip, it's a good idea to use screws, as these provide extra durability. Screws are usually provided.
When done, examine the result of your hard work. If there are any unwanted gaps, loosen the screws, readjust and tighten again.
Self-adhesive strips
Do you need to close gaps further up from the floor? Self-adhesive foam strips are the go-to DIY solution. These strips usually come in five-metre-long rolls, so you'll have plenty spare when you're done sealing your door. They're usually quite affordable, too.
Applying them is simple. First, you should clean your door thoroughly. This helps the strips stick firmly. Then, use scissors to cut strips to length – preferably slightly longer than each respective side of the door.
Now, peel off a little of the backing paper at one end of the strip and press it firmly to one corner of the door. Continue peeling and sticking the strip, little by little, as you progress. This helps stop the strip from sticking to itself or elsewhere.
Finally, cut off any excess and repeat on the other sides.
When done, try closing the door and make sure everything fits. If you notice any gaps in one strip, it's best to start again and redo the whole length. Using multiple shorter strips won't seal as effectively, and they might start peeling off faster.
Bigger fixes
Sealant
If you notice gaps or cracks in the actual door, frame or surrounding masonry, sealant is your best bet.
You can buy chalk or silicone sealant. Many experts recommend silicone for outside work, as it's waterproof.
Using sealant is slightly more involved than the other methods we've shared so far. You might need to get your hands dirty, but don't worry – it's not too tricky.
To get started, you'll need:
- The sealant gun
- Some masking tape
- A filling knife or a scraper
- A little patience
Gathered all your tools together? Great! Start by cleaning the affected area thoroughly with warm, soapy water. Let it dry completely.
Next, apply tape around the gaps and cracks to protect the surrounding material. Fill the cracks with the sealant, carefully going from top to bottom. Smooth it over with your filling knife.
Afterwards, remove the masking tape and, if necessary, carefully wipe off any smudges.
After waiting for about 24 hours, examine the result to make sure there are no more draughts.
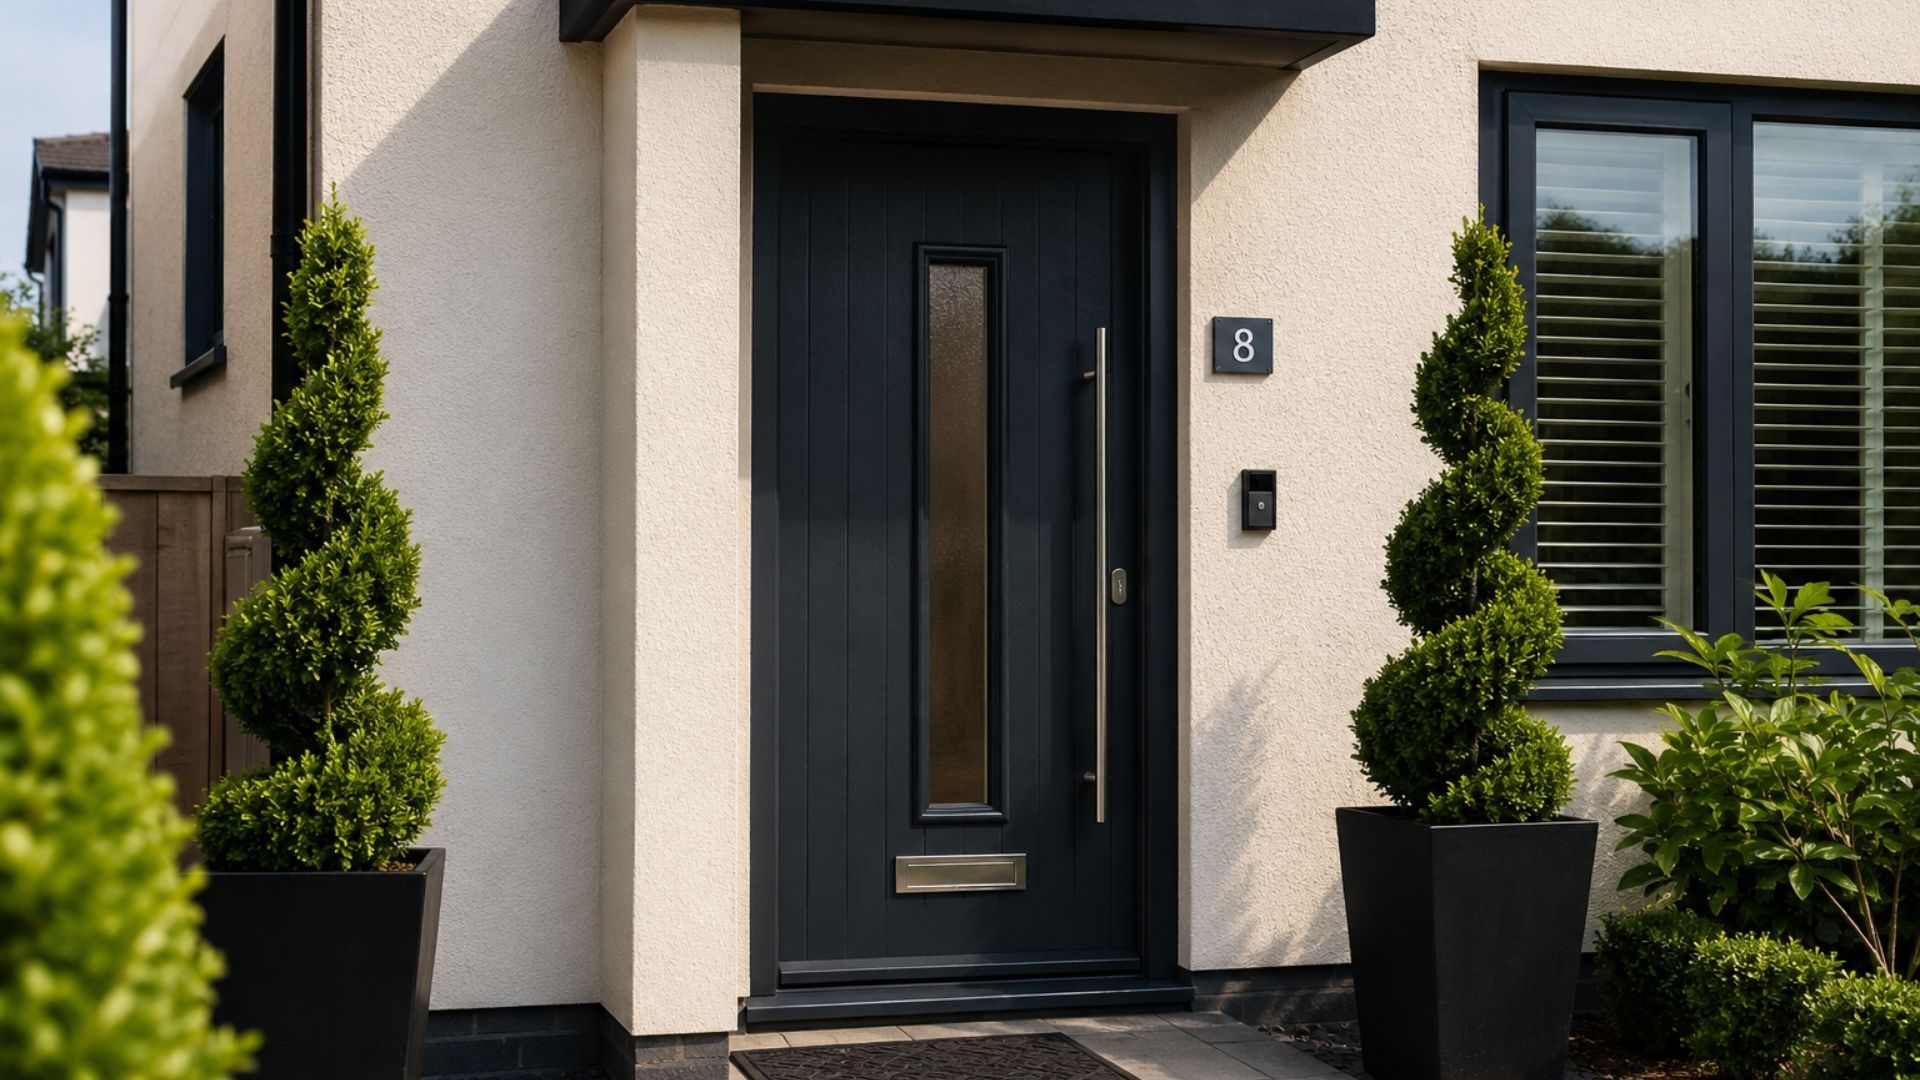
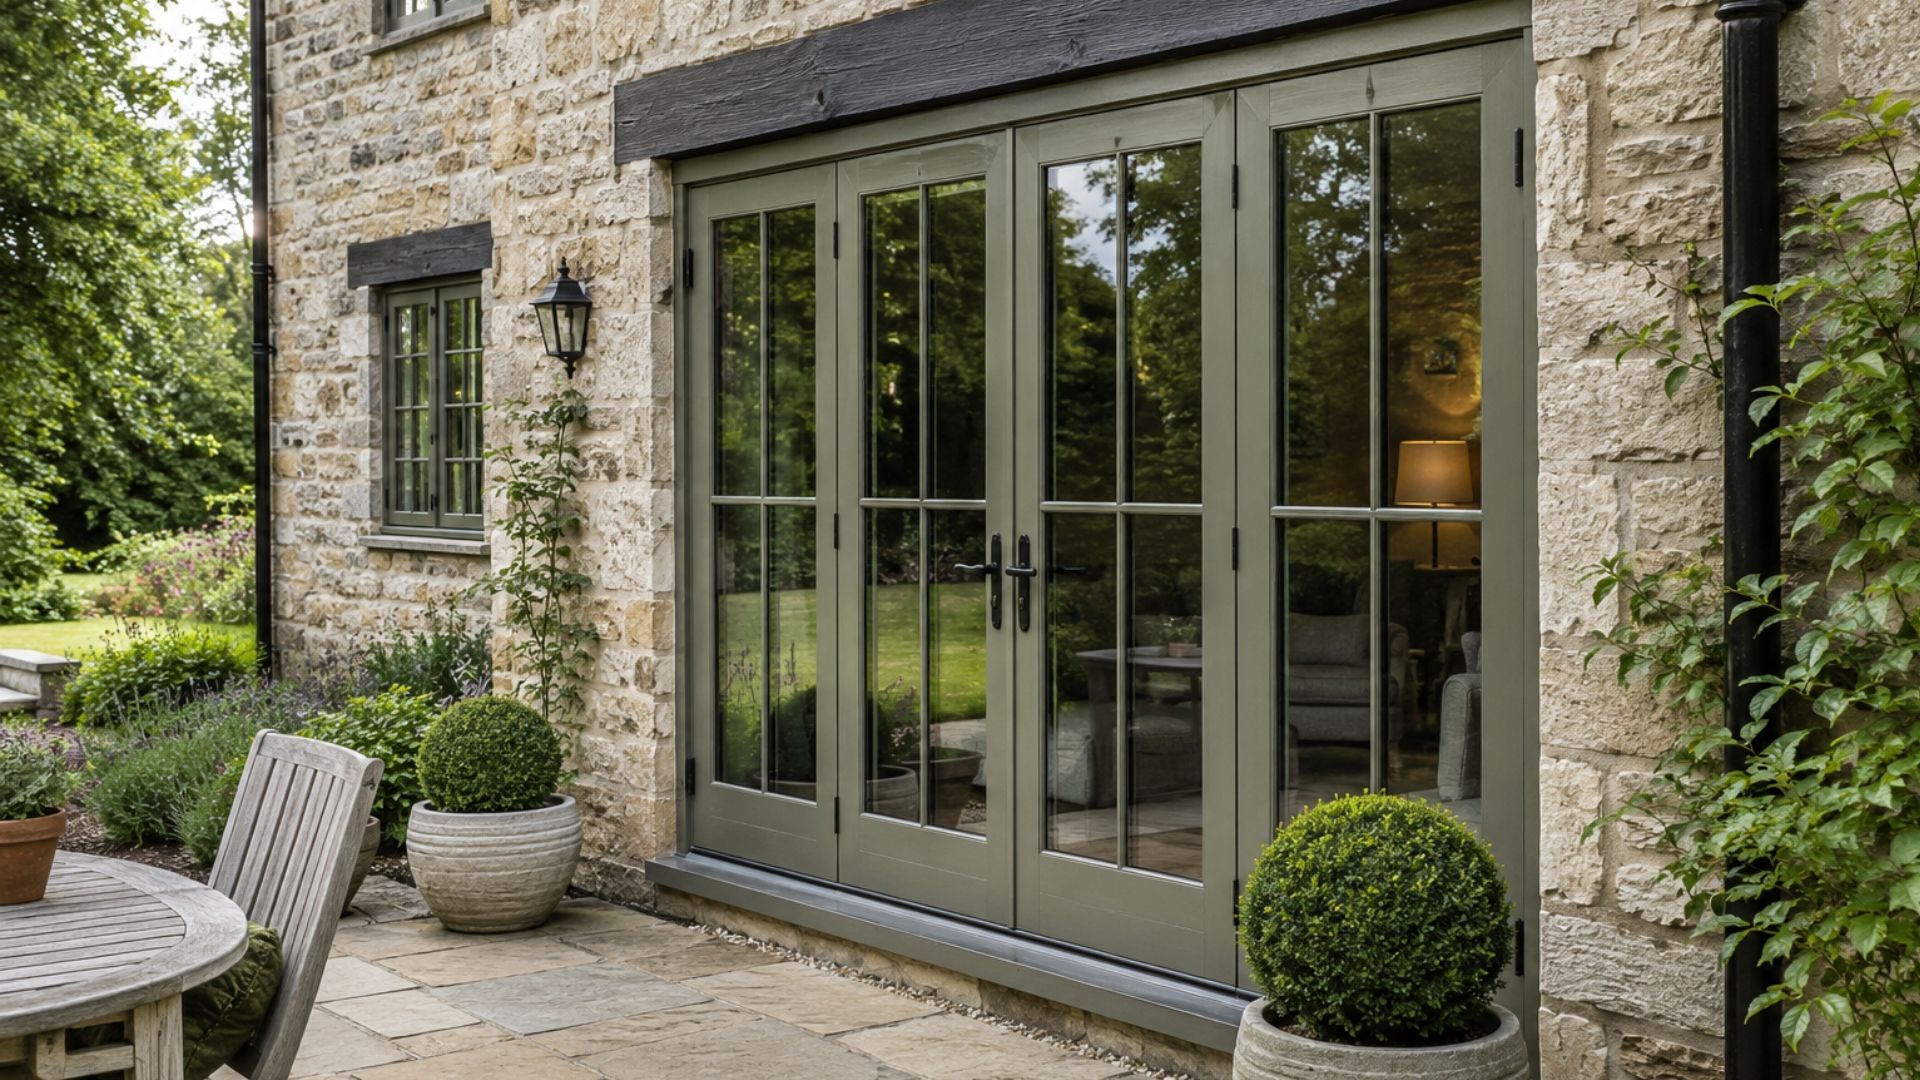
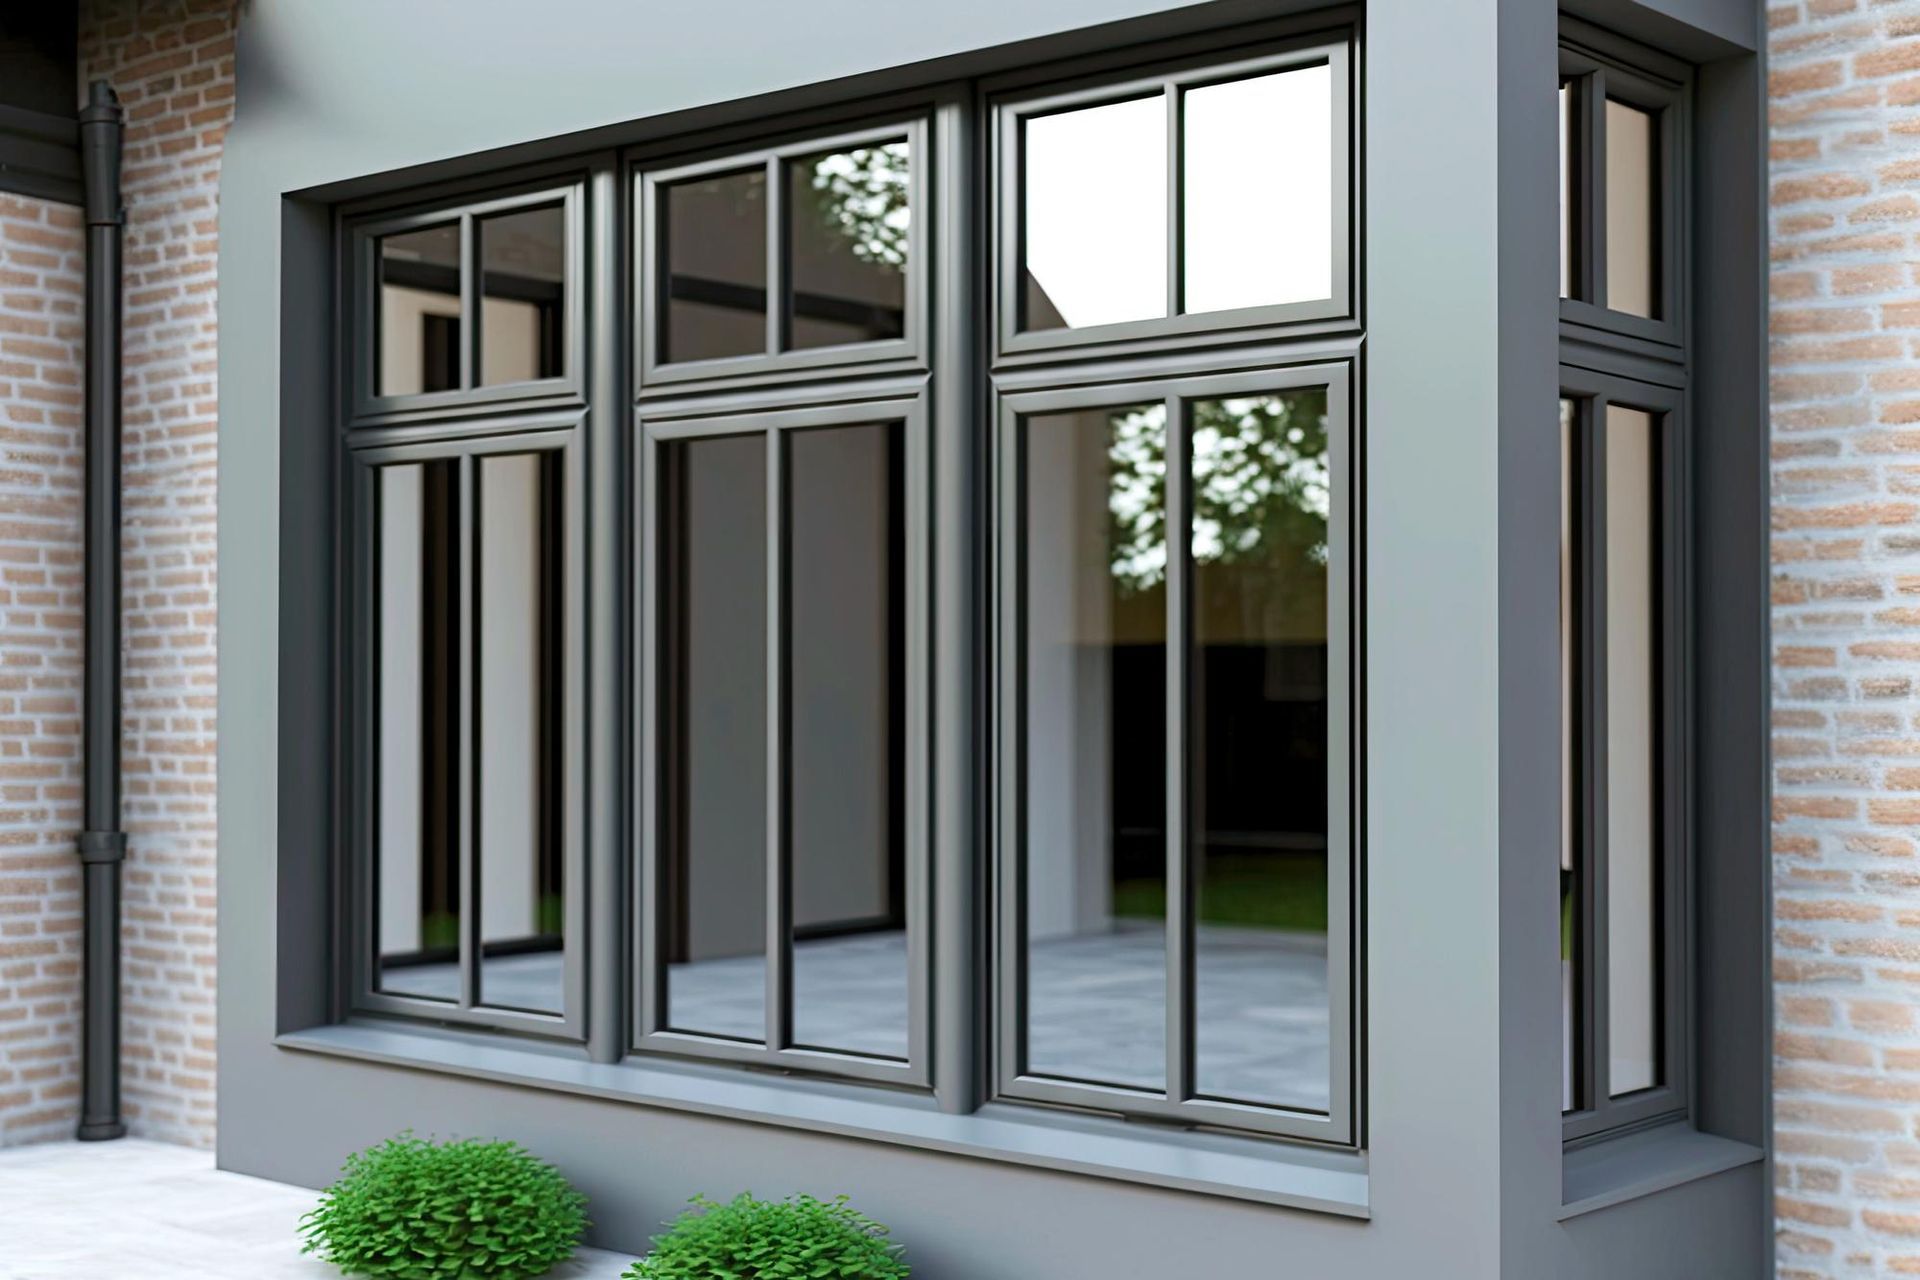
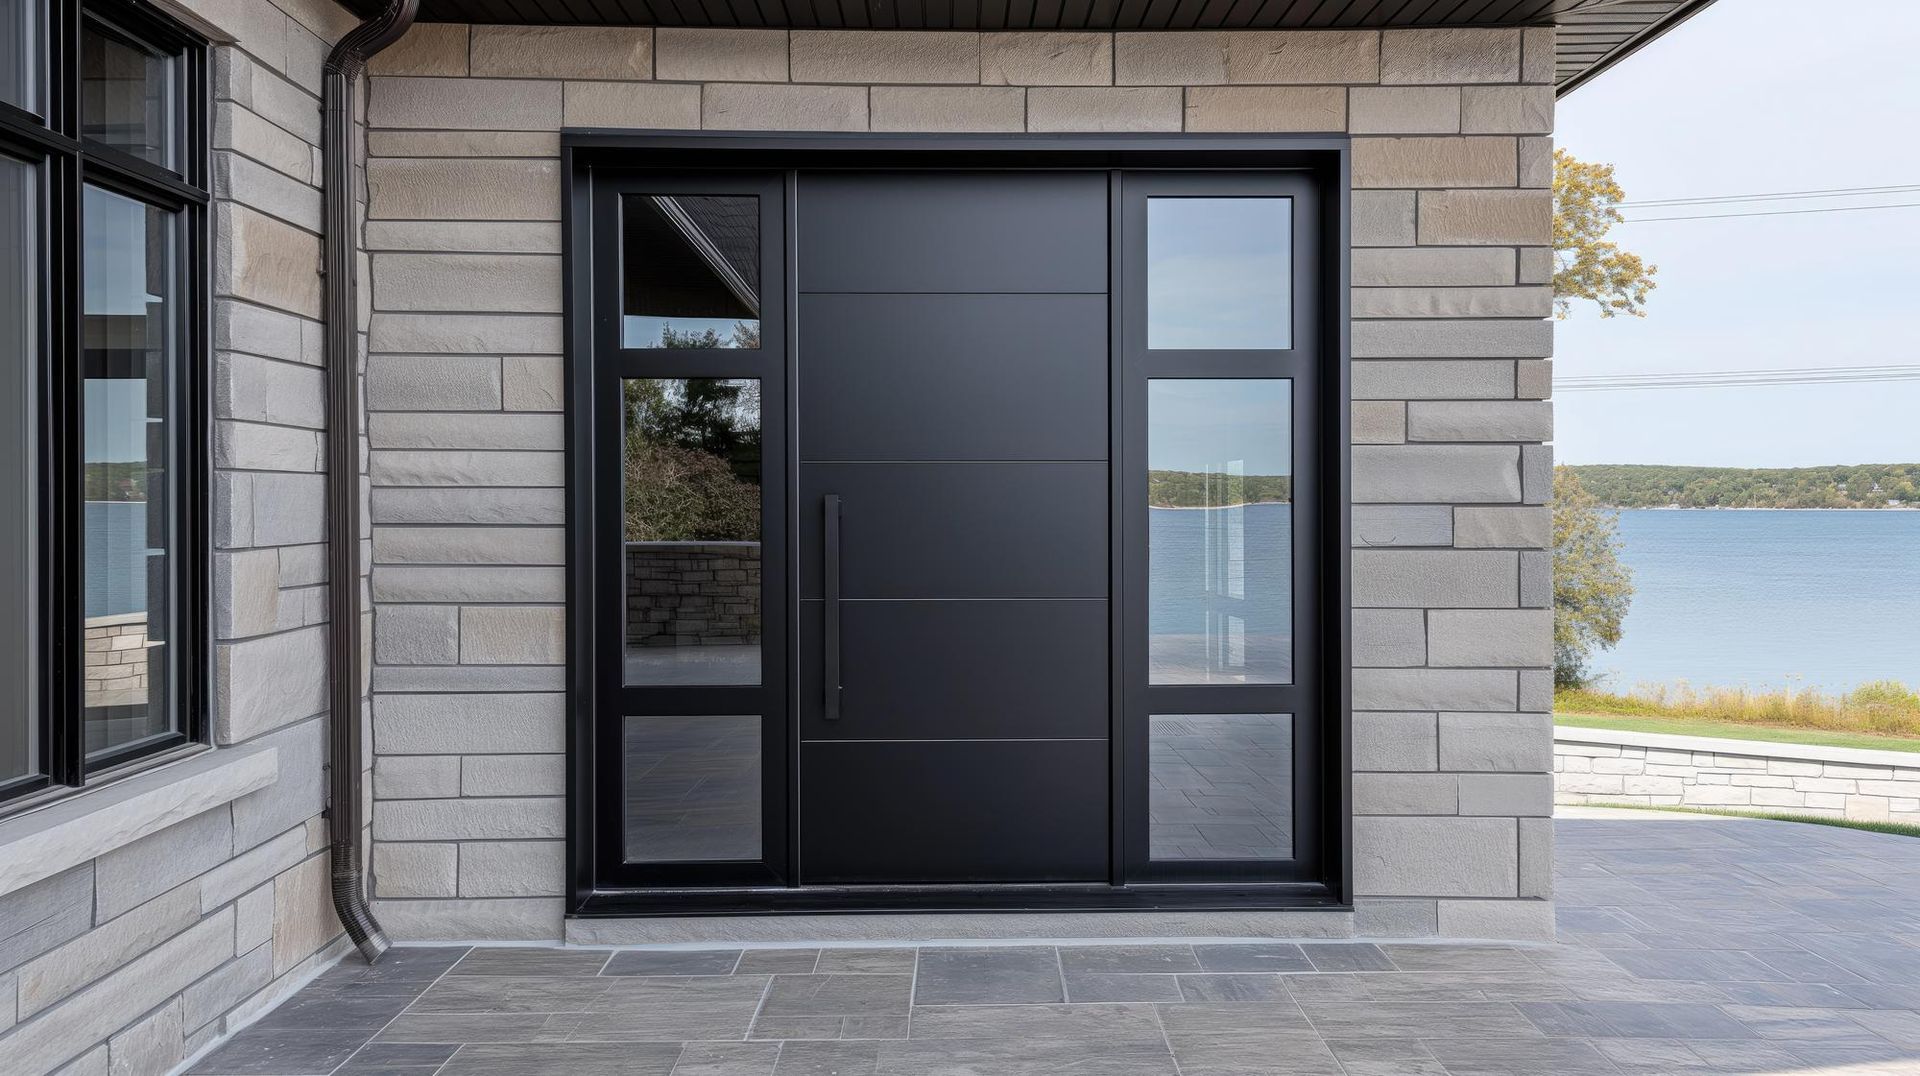
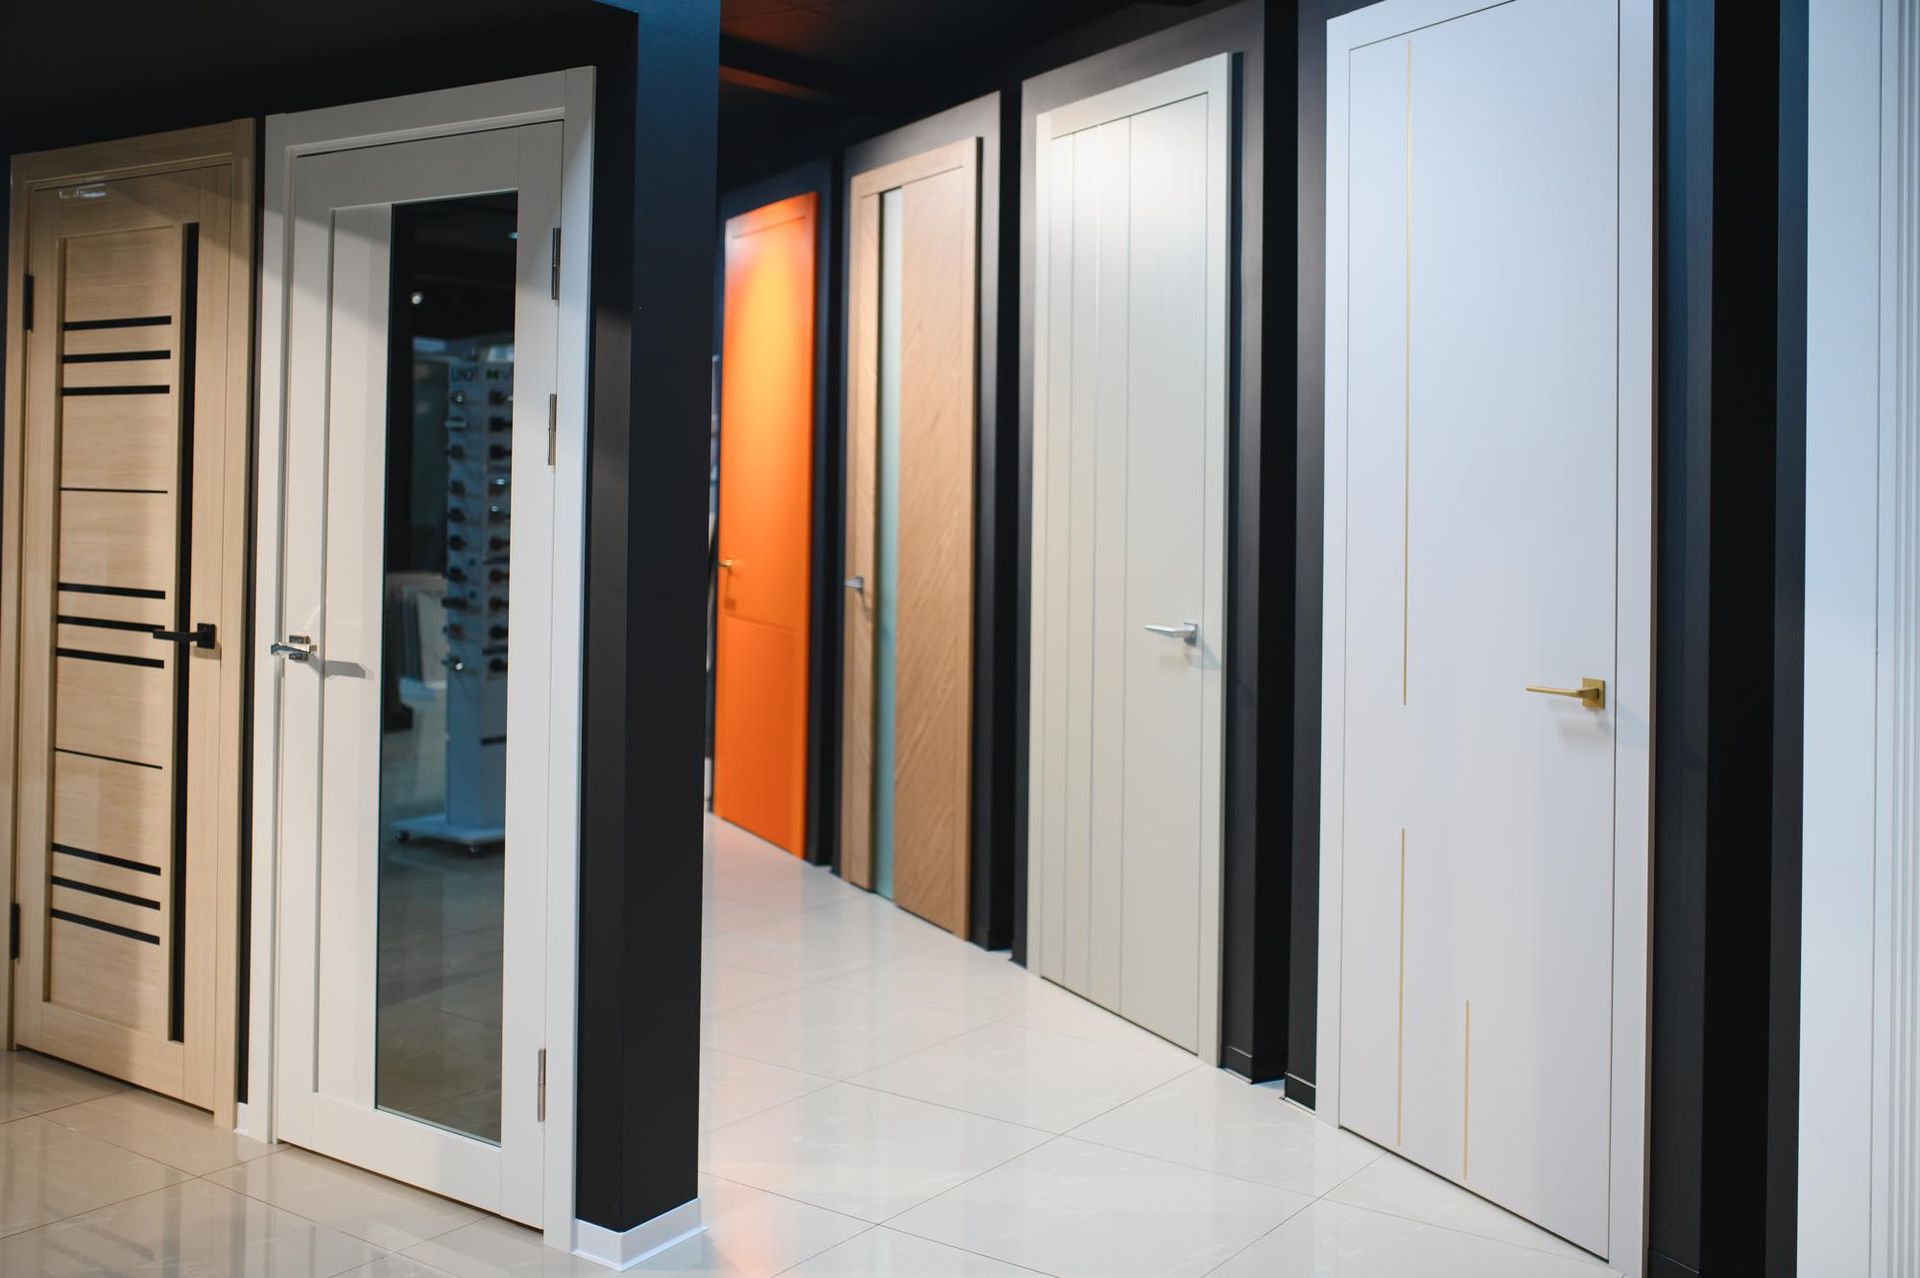
Installing a new front door
Sometimes, the best option is to say goodbye to an old door and replace it with a new one. This might make practical and financial sense if:
- The door has warped or twisted – no amount of draught-proofing can fully compensate for a severely warped door
- The door is damaged or rotted – deep cracks and rot can't be reliably patched
- You can see daylight through the cracks or gaps – this usually indicates that the problem is too severe for standard draught-proofing measures
- You've tried fixing it multiple times – if the problems keep coming back, it might be best to wipe the slate clean and start again with a new door
- Your door is old and outdated – old-fashioned, uninsulated doors are prone to letting heat escape, with or without draughts
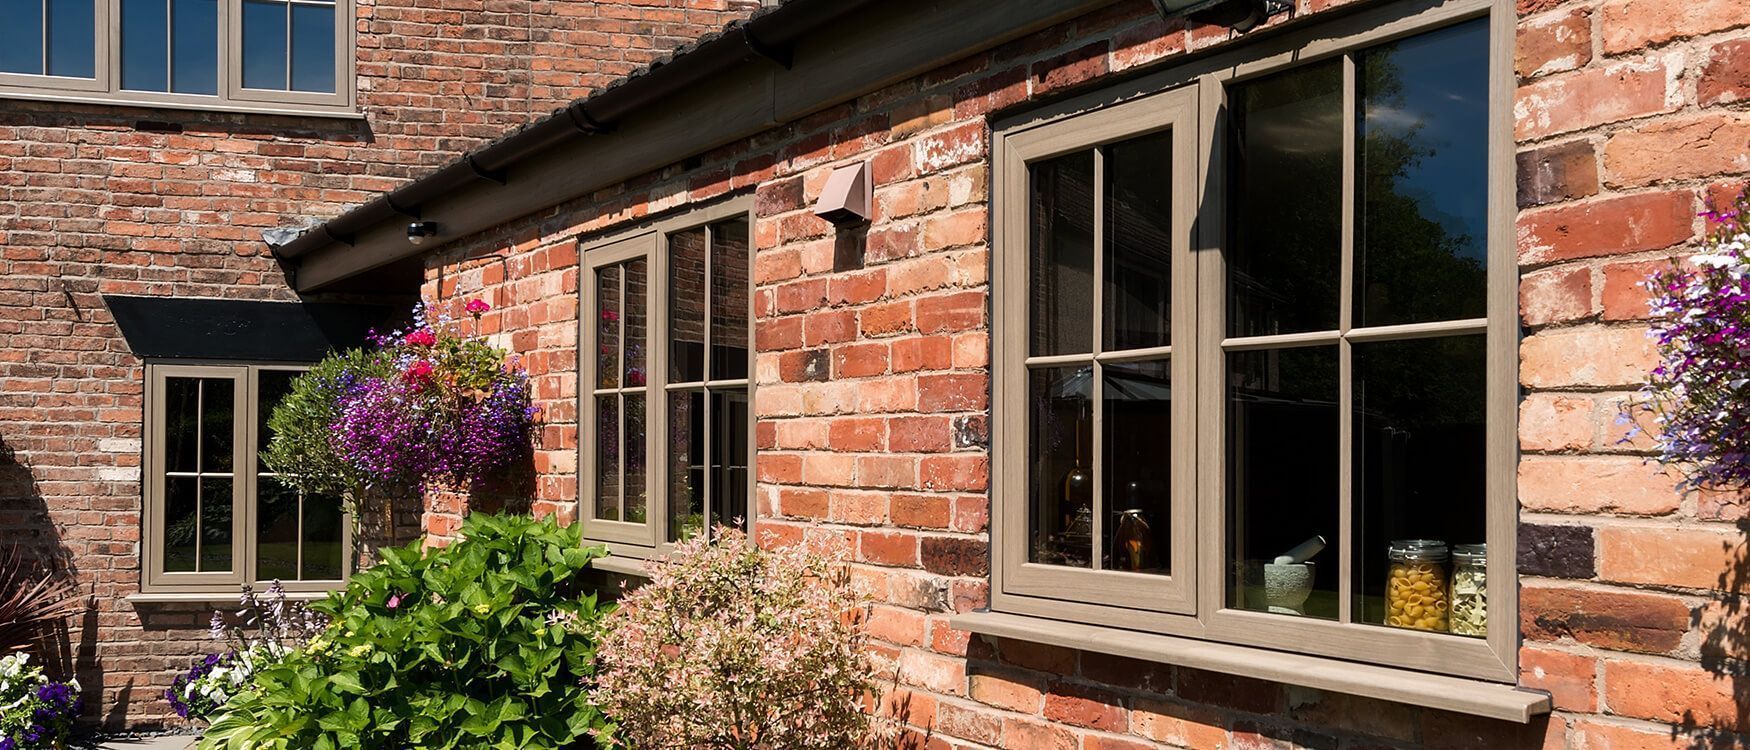
At Calder Windows, we supply a wide range of high-quality doors to customers throughout Yorkshire. That includes replacement composite front doors , which are much sturdier and more energy-efficient than their old, uninsulated counterparts.
Plus, with our top-notch installation and 10-year warranty, you can expect to be draught-free for many years to come.
Based in Normanton, West Yorkshire,
Calder Windows is a trusted and experienced supplier of doors, windows and conservatories.
Recent Posts